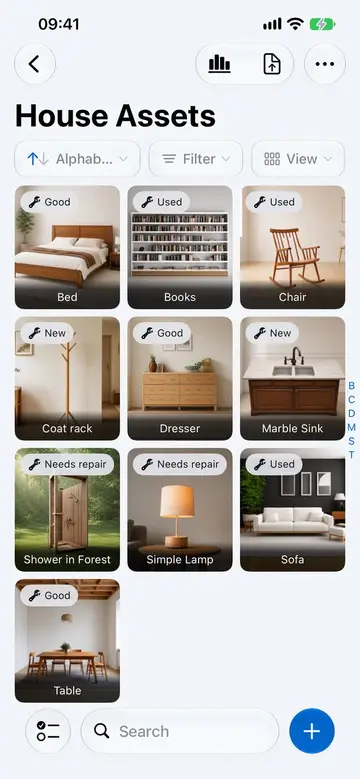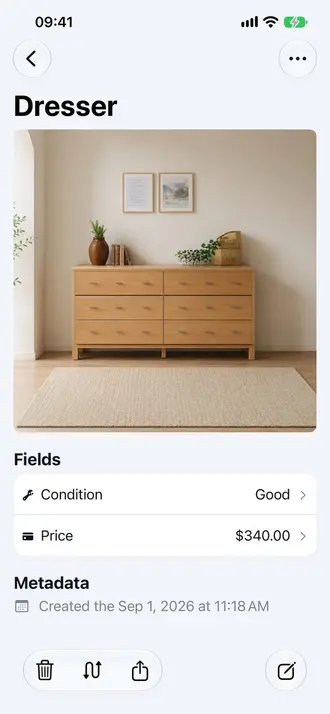


A single photo rarely tells the whole story. A furniture piece needs front, side, and detail shots. A piece of electronics needs the model label and any damage documented. A collectible needs the front, back, and any distinguishing marks. Retinelle lets you attach multiple photos to every item so you capture the full picture.
How multiple photos work
Each item in your inventory starts with one photo. You can add more at any time, up to 10 photos per item—enough to cover the angles and details that matter. Each photo is stored locally on your device alongside the rest of the item data.
- Open an item. Tap on any item in your project to see its detail screen.
- Add photos. Use the camera or pick from your photo library. Add the angles and details you need.
- Choose the primary image. One photo is marked as the primary image. This is the one that appears in the list view and exports. Pick the clearest, most representative shot.
When to use multiple angles
- Furniture and large items. Front view, side profile, any damage or wear, manufacturer label.
- Electronics. The device itself, model/serial number sticker, screen condition, accessories.
- Collectibles. Front, back, any signatures or markings, certificate of authenticity.
- Warranty documentation. The product, the receipt, the serial number, the packaging if relevant.
- Before and after. Capture the item in its current state for comparison later.
Photos in exports
When you export to PDF, each item shows its primary image. If you need every photo in the document, choose the fullscreen photo layout, which displays all of an item’s photos at full size. You can also export to a spreadsheet to include every photo alongside the item data.
Choose photos for the recipient and purpose of the export. A general household list may need one clear image per item, while a condition report may benefit from close-ups of existing wear. Before sharing, review every included photo for addresses, receipts, personal documents, or other details that were captured unintentionally.
Tips for better inventory photos
- Use natural light when possible. It shows true colors and reduces glare.
- Get close to labels. Serial numbers, model numbers, and brand names should be legible in the photo.
- Include scale when useful. A hand or a common object next to the item helps convey size.
- Shoot against a plain background. It makes the item easier to identify in a long list.
Related features
- Add Custom Fields to Your Inventory to pair photos with structured data
- Export Your Inventory to PDF to create a shareable document with photos
- All features
Feature in practice